
The Astur Sweater

Hi, I’m Estel ✨
In this project I’m making showing you the process of making my very first crochet patchwork sweater — something I’d wanted to try even before I properly learned how to crochet.
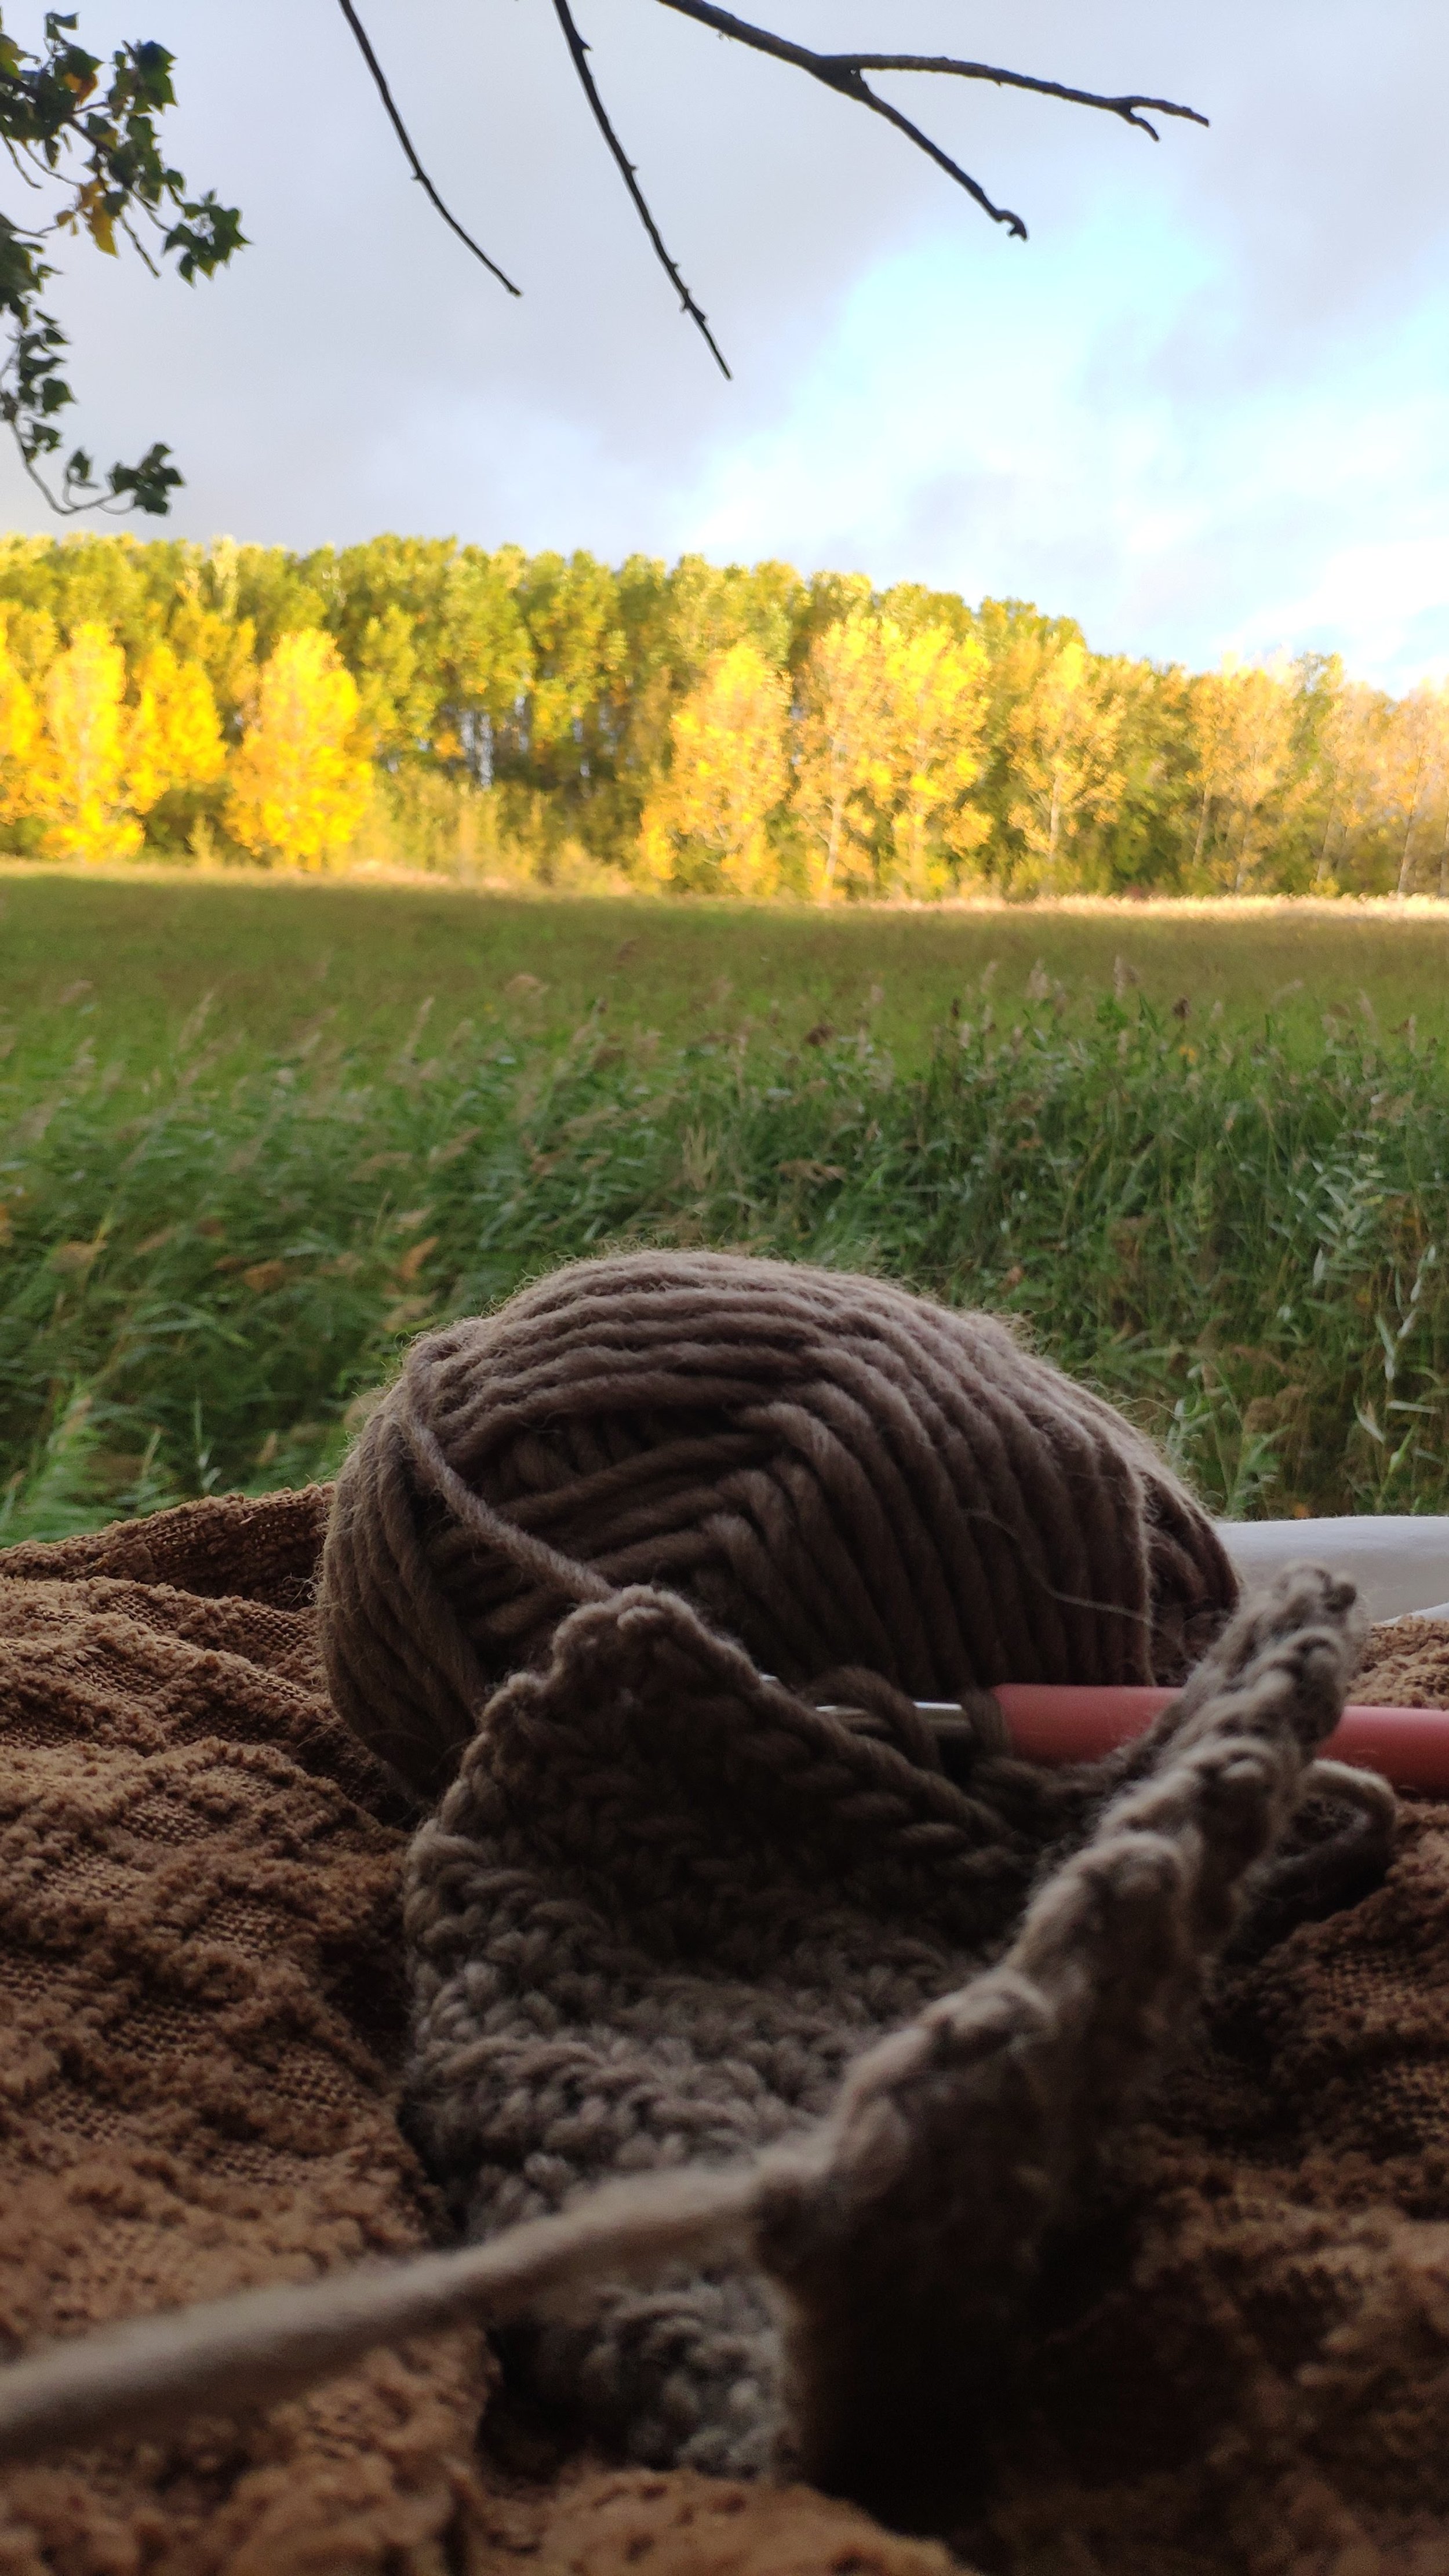
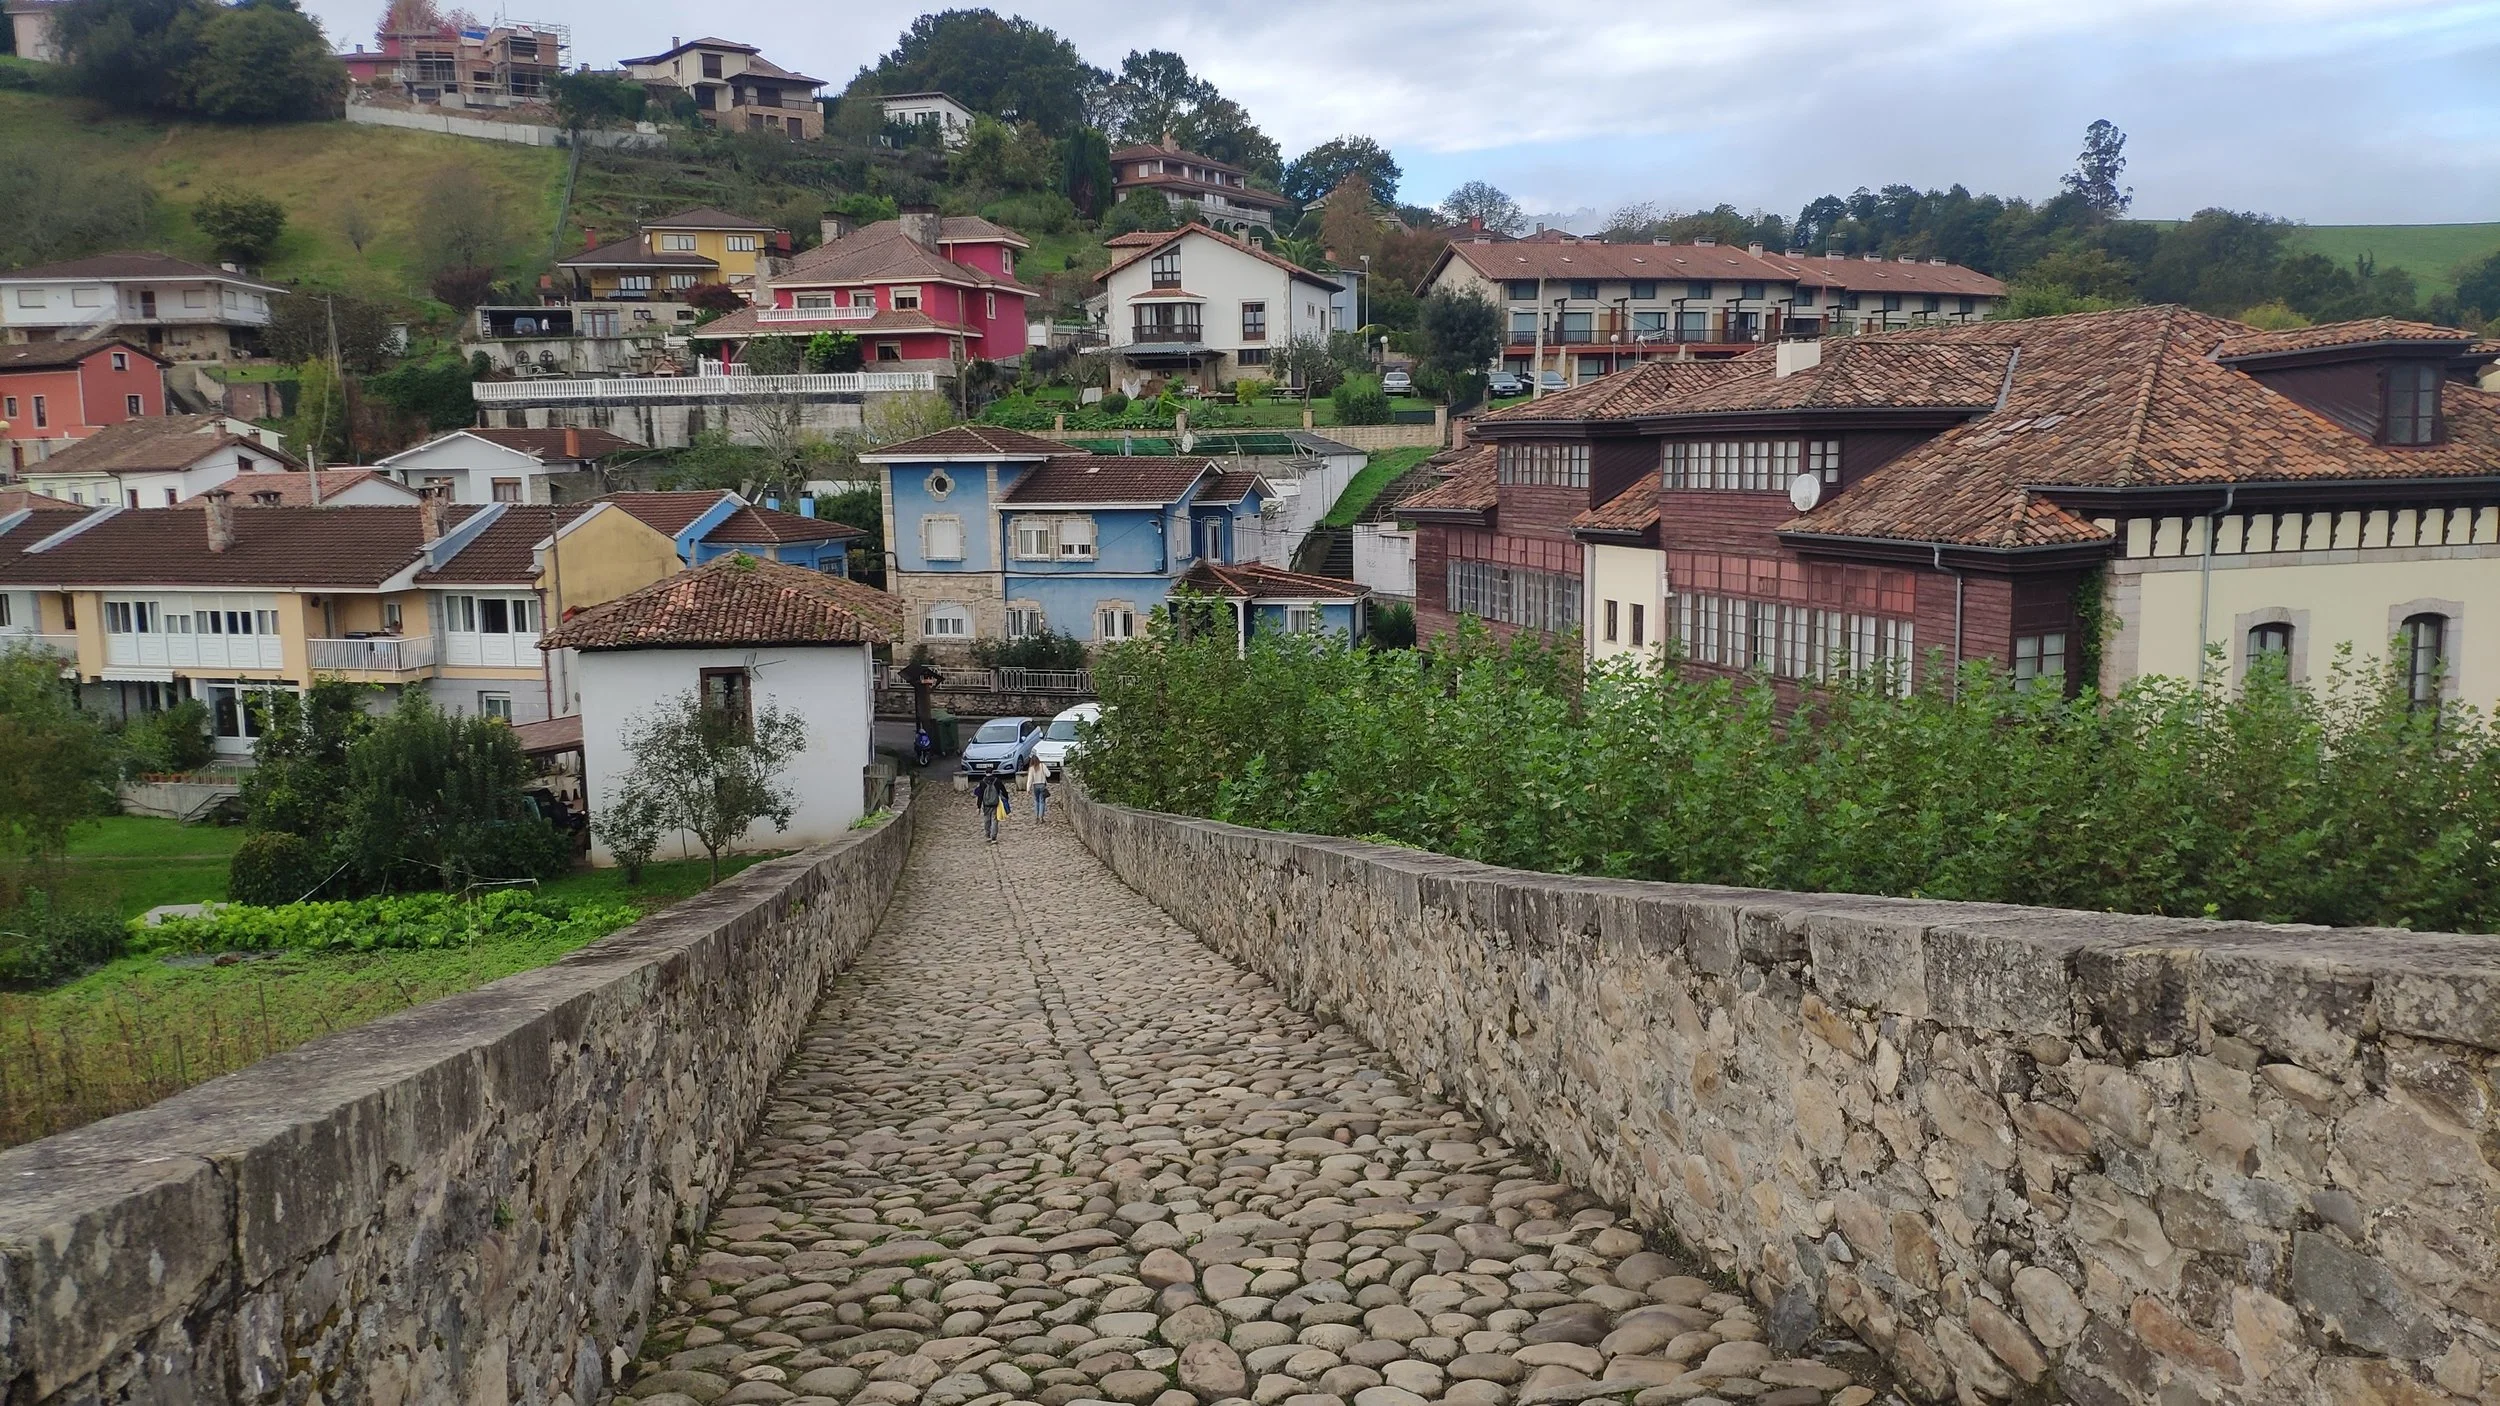
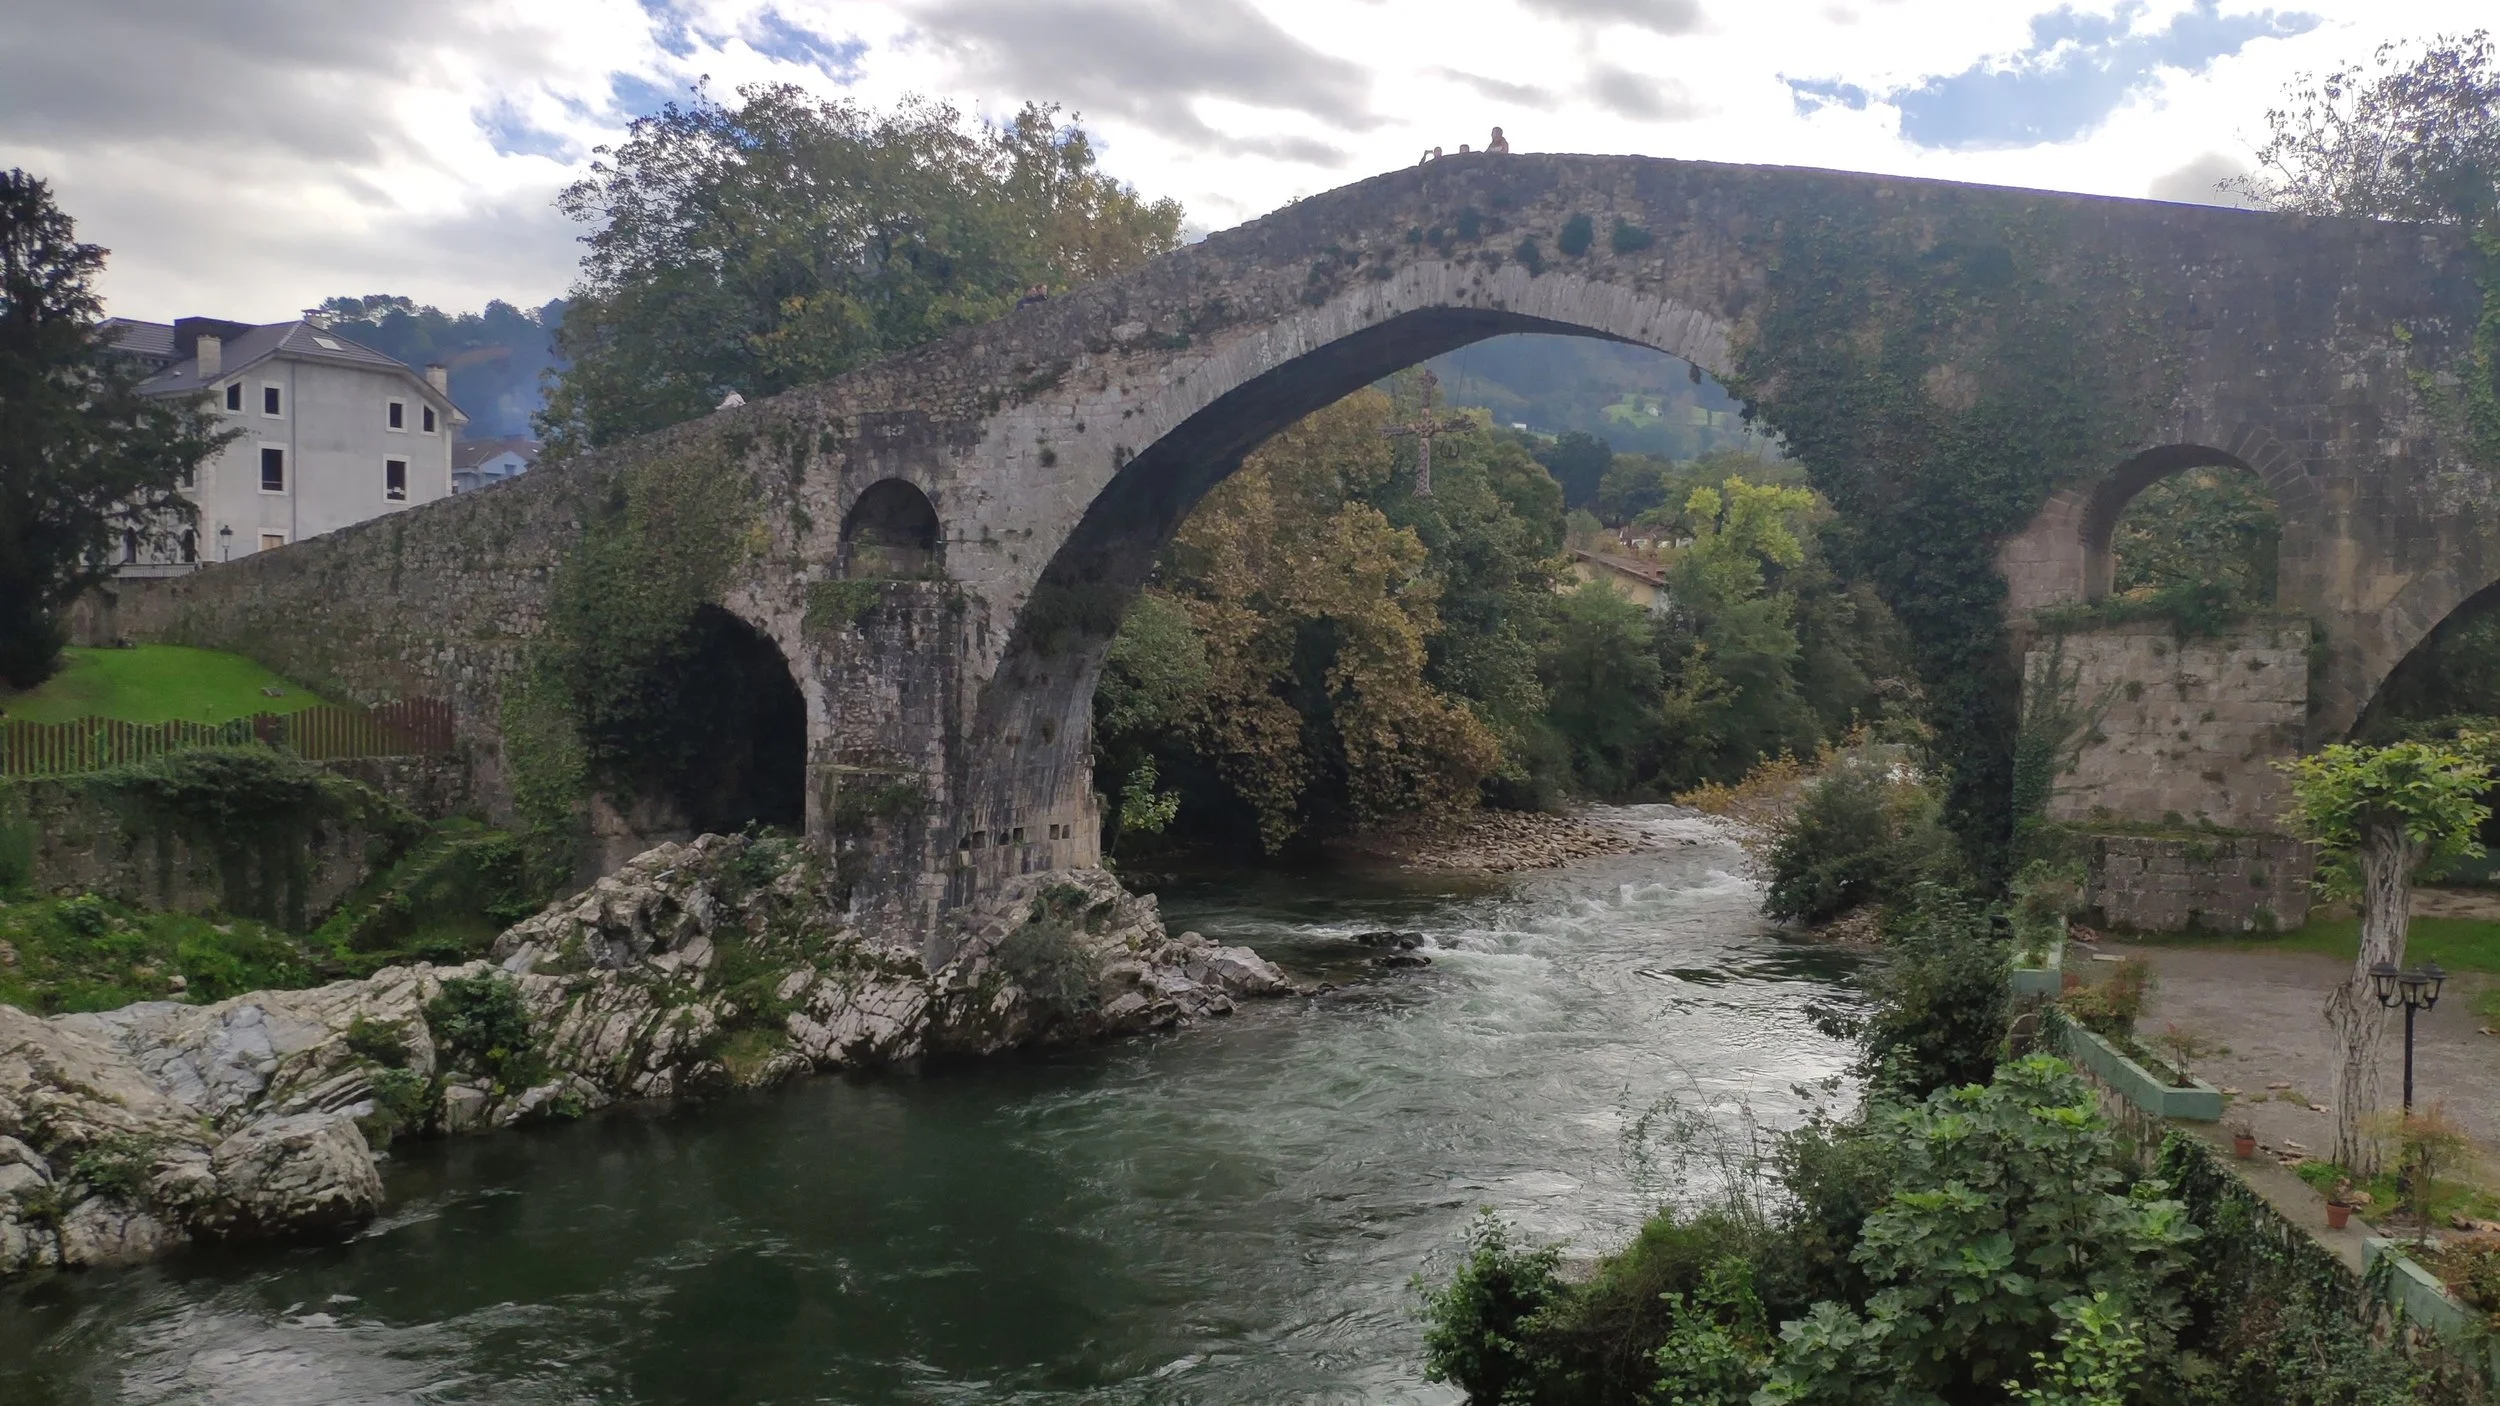
The year I was learning how to crochet, my sister and I had a road trip planned, and I knew it was the perfect moment to finally start it. Long hours on the road, quiet moments, yarn in my hands — it all felt right. These trips have become a small tradition for us: every fall we take her van and wander slowly, stopping in small villages and letting time stretch a little.
This particular trip took us to Asturias, where we were also attending our cousin’s wedding in Oviedo. The sweater slowly came together between drives, coffee stops, and landscapes passing by the window.

The materials
For this sweater I used four shades of brown and cream. I ended up using approximately three balls of yarn per color.
The yarn I chose is soft and not itchy at all — I’ll link the exact yarn details below in case you’d like to use the same one.
You can, of course, adapt the colors and yarn to whatever you already have or love most.
This is the yarn I used: (not affiliate)
The Lanners Limerence Light https://www.milbby.com/products/ovillo-de-lana-limerence-light-taupe-the-lanners
The Lanners Limerence Brown https://www.milbby.com/products/ovillo-de-lana-limerence-marron-oscuro-the-lanners
Natur Uld Dark Beige - Natur Uld Dark Brown
I bought them on Milbby and ‘All you knit is Love’, in Barcelona.
If you are new to crochet, I recommend getting this case that includes hooks of all sizes.
The Pattern & Inspiration
The idea for this sweater came from Pinterest, where I collect a lot of visual inspiration. I’ve also been slightly obsessed with a patchwork sweater worn by Stephanie from Steph Time in some of her videos. She doesn’t have a tutorial for it, but since it’s made entirely of squares, I felt confident enough to experiment and create my own version.
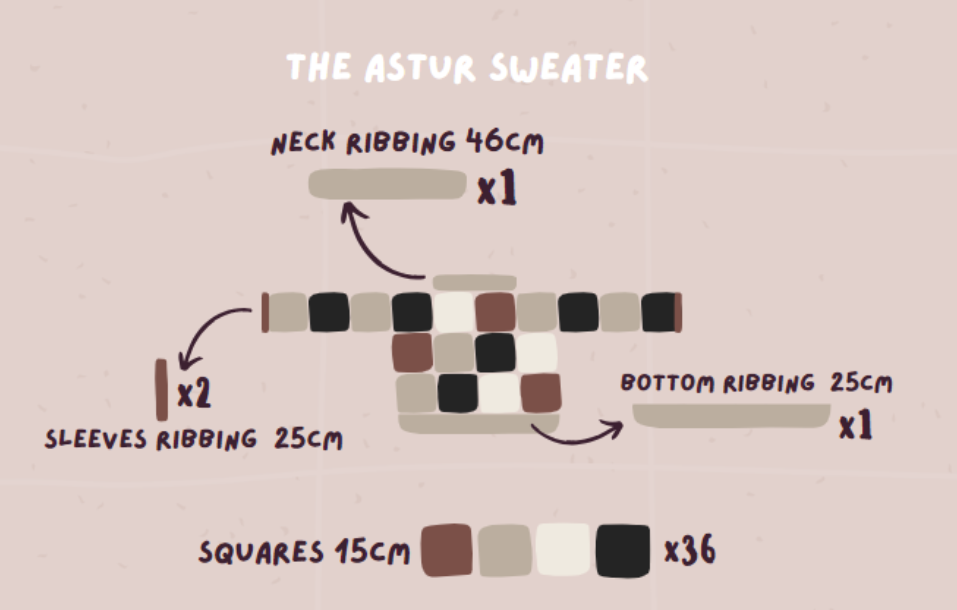
I started by sketching a simple layout, keeping in mind that I would need 36 squares in total, plus ribbing for the neckline, cuffs, and hem.
You can find the written PDF pattern for this sweater below, where I explain everything step by step.
Download the Free PDF Pattern by subscribing to my Newsletter
The PDF includes all the measurements and guides to make the Astur Sweater yourself. It doesn’t include different sizes for now.
I hope you enjoy making this sweater as much as I did! It’s a perfect beginner-friendly project, a great way to use scraps, and a fun addition to your wardrobe.
Measurements & Construction
After a few tests, I figured out the measurements that worked best for me.
The pattern included here is written for a size small.
Each square is made using half double crochet, which creates a beautiful, dense texture.
To work this stitch:
Yarn over before inserting the hook into the stitch
Pull the yarn through
Yarn over again and pull through all three loops on the hook
At the end of each row, remember to make two chain stitches to keep the edges straight.
The Ribbing
For the ribbing, I decided to mix the colors — and I love how it turned out.
I used the same technique I often use for crochet pumpkins:
a single crochet worked through only one loop of the stitch, which makes the fabric stretchier.
I started with four chains, then worked single crochet rows. After the second row, I only picked up half of the chain each time. This creates a flexible, cozy ribbing that sits nicely on the body.
Sewing It All Together
Once all the pieces were ready, I started assembling the sweater:
First the body
Then the sleeves
And finally the ribbing
This is always the moment when everything suddenly feels real — when loose pieces turn into a garment.
The Final Result ✨
I was so excited to try it on — and I couldn’t be happier with how it turned out.
The yarn feels incredibly soft, the fit is just right, and it feels extra special knowing it’s my first crochet sweater.
I’d give it a 9 out of 10. Not a 10 only because it’s my first — I know the next one will be even better.
It felt so meaningful that I decided to give it a name:
The Astur Sweater, after the place where it came to life.