
Summer Patchwork Pillow Pattern
Hi there! I’m Estel, and today I’m sharing a tutorial for the patchwork pillow I showed in on of my videos — part of my DIY Bedroom Makeover series, where I explored sewing, upcycling, and a few colorful surprises.
Some of you asked for a step-by-step guide, so here it is! This pillow is beginner-friendly, and perfect for using up your fabric scraps.
Materials You’ll Need
4 patchwork or cotton fabrics (different colors)
1 extra fabric for the inside/back
Batting
Pins, needle, scissors
Pencil or sewing chalk
Ruler & thread
You can download a free printable PDF pattern at the end of this post, so you won’t need to draw the design yourself.
Inspiration & Concept
The idea behind this pillow came from rebelling against what seems “imposed” and discovering something for yourself. Many of us have memories of learning sewing at school or from family, sometimes feeling it was a chore. But when you explore it on your own, it becomes a joyful, creative process.
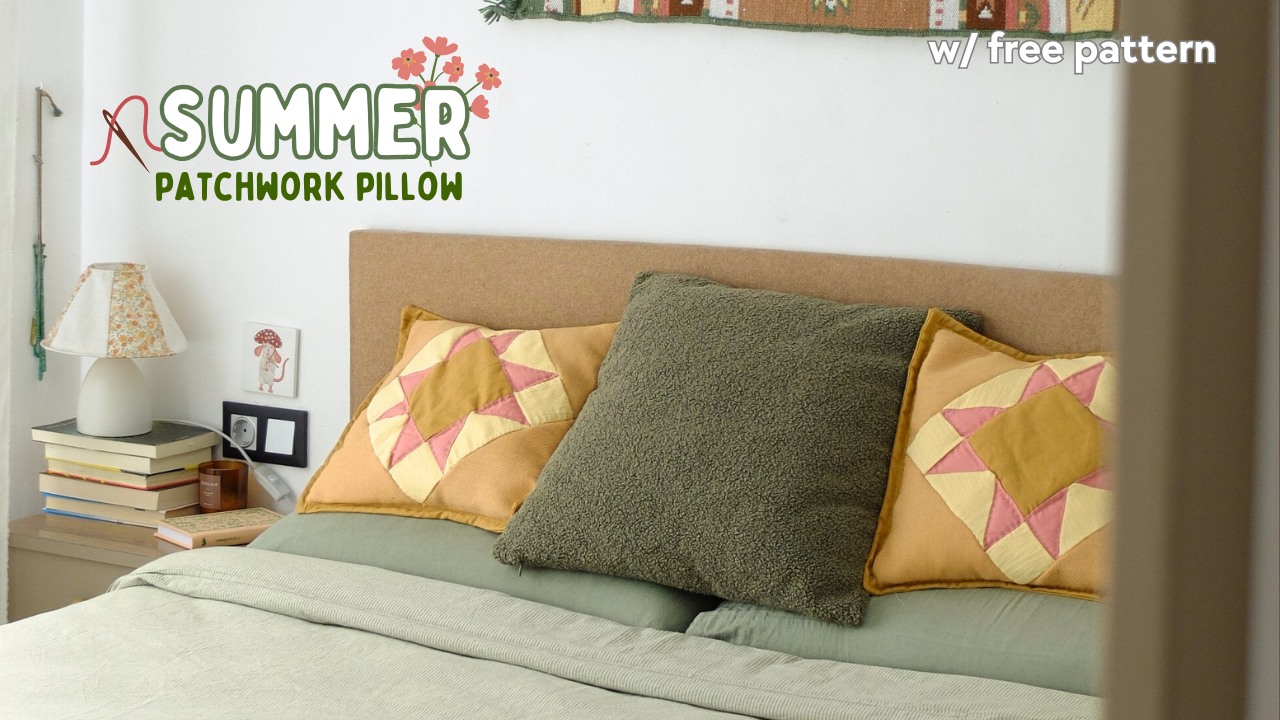
For this pillow, we chose a classic patchwork star shape — I think it’s called the Sawtooth Star. I drew a 40 × 40 cm square for the pillow, made a color map, and eventually added a brown framing for a finishing touch.
Check my Pinterest board for more patchwork inspiration and designs.
Step 1: Prepare Your Pieces
Transfer the PDF pattern onto your fabrics.
Cut all the pieces to size.
Mark the seam allowance with pencil or sewing chalk — this will help you sew straight lines.
Step 2: Hand-Sew the Patchwork
Pin your fabric pieces right sides together.
Sew from seam to seam, securing the thread at the start and end with three stitches.
Unfold and iron seams flat.
Assemble groups of pieces first, then attach them to the center square.
Tip: Work in small groups — it’s easier to manage and keeps your seams neat.
Step 3: Add Batting & Backing
Once your front patchwork piece is complete:
Layer batting and the backing fabric.
Secure them temporarily with loose stitches — these will hold the layers while you quilt and add dimension.
Quilt by stitching detail lines across the piece.
Step 4: Add the Framing
We added brown framing to the pillow for extra structure and color:
Cut four strips for each side of the pillow.
Adjust the batting and inside fabric to match the new dimensions.
Overlap corners evenly when sewing the frame in place.
If you include the framing from the beginning, cut batting and backing to match the full size of the framed piece.
Step 5: Sew the Pillow Cover
Cut two rectangles for the back of the pillow, leaving an opening to insert the pillow form.
With right sides together, sew all edges.
Turn the cover inside out and smooth the seams.
Add a seam along the framing for a finishing touch.
Your patchwork pillow is complete! 🌸🌞
Tips & Inspiration
Experiment with different patterns and color combinations — each pillow can be unique.
You can also make multiple pillows in coordinating shades. I’ve made a green one and two pink ones for our bedroom.
For more ideas, check my Pinterest board.
Download the Free PDF Pattern by subscribing to my Newsletter
The PDF includes all the measurements and guides to make your own 40 × 40 cm patchwork pillow without drawing the pattern yourself.
I hope you enjoy making this pillow as much as I did! It’s a perfect beginner-friendly project, a great way to use scraps, and a fun addition to any cozy bedroom.
Sending you a big hug,
Adéu!