
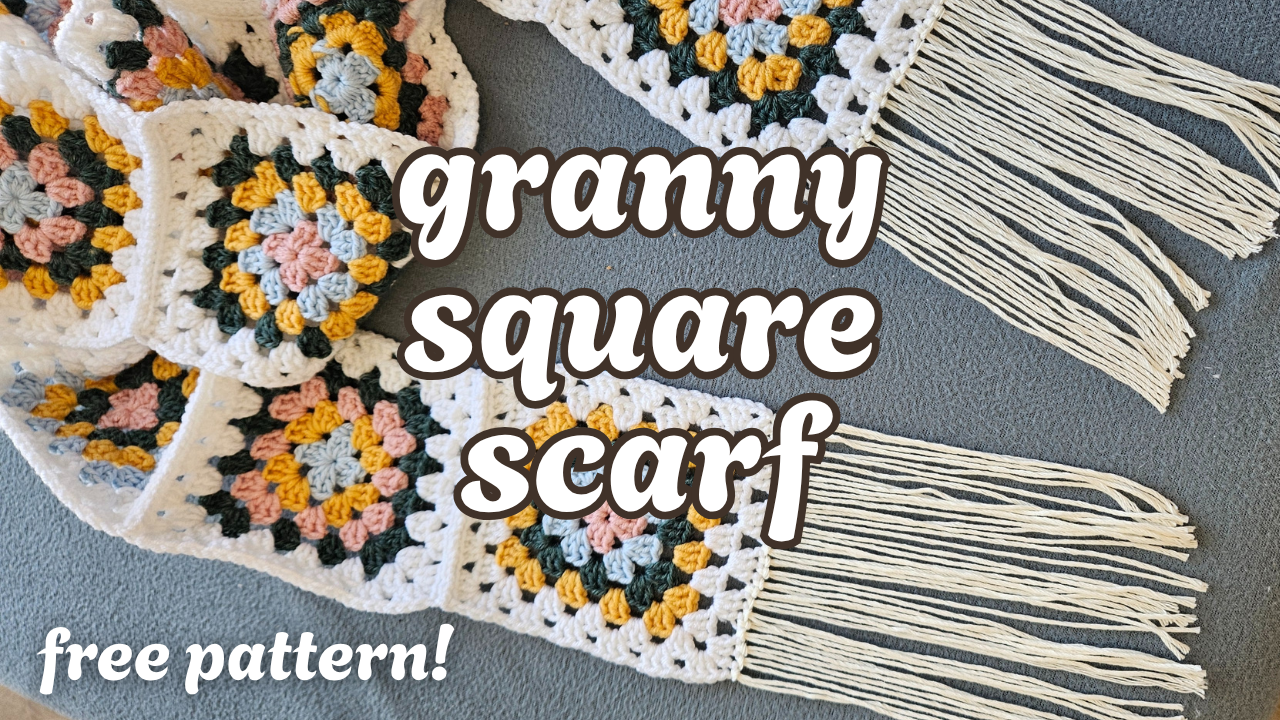
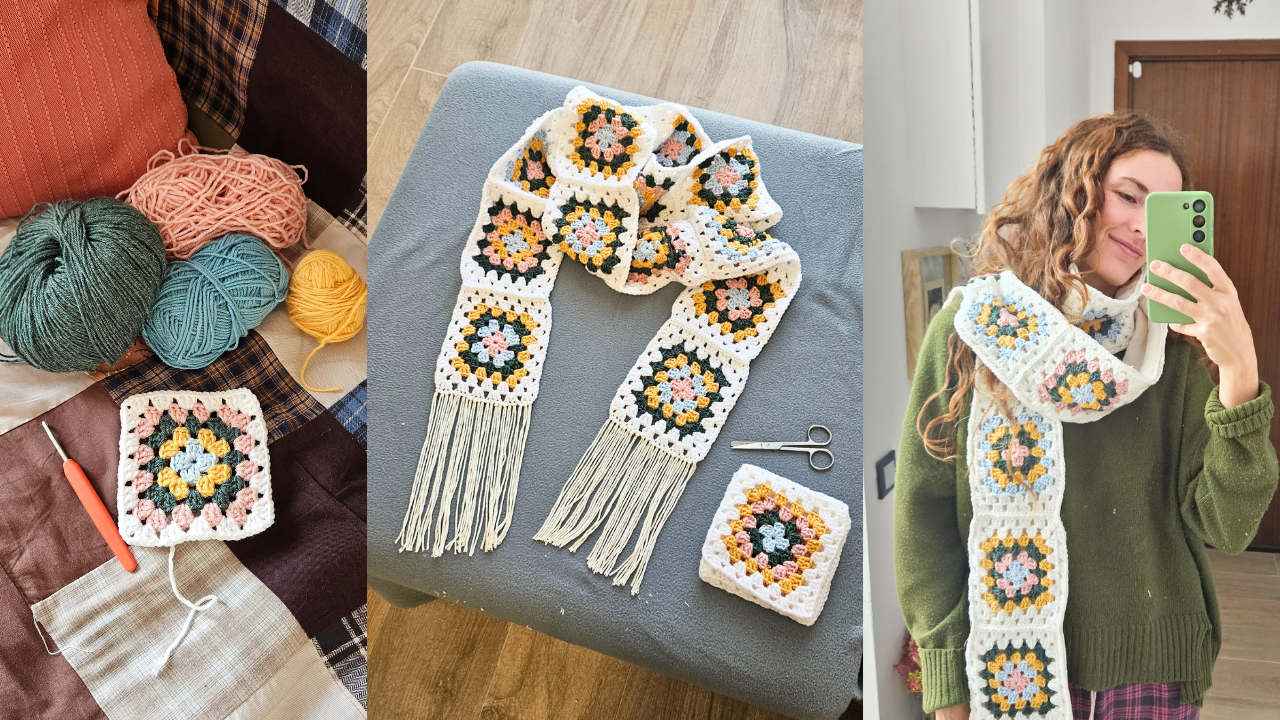
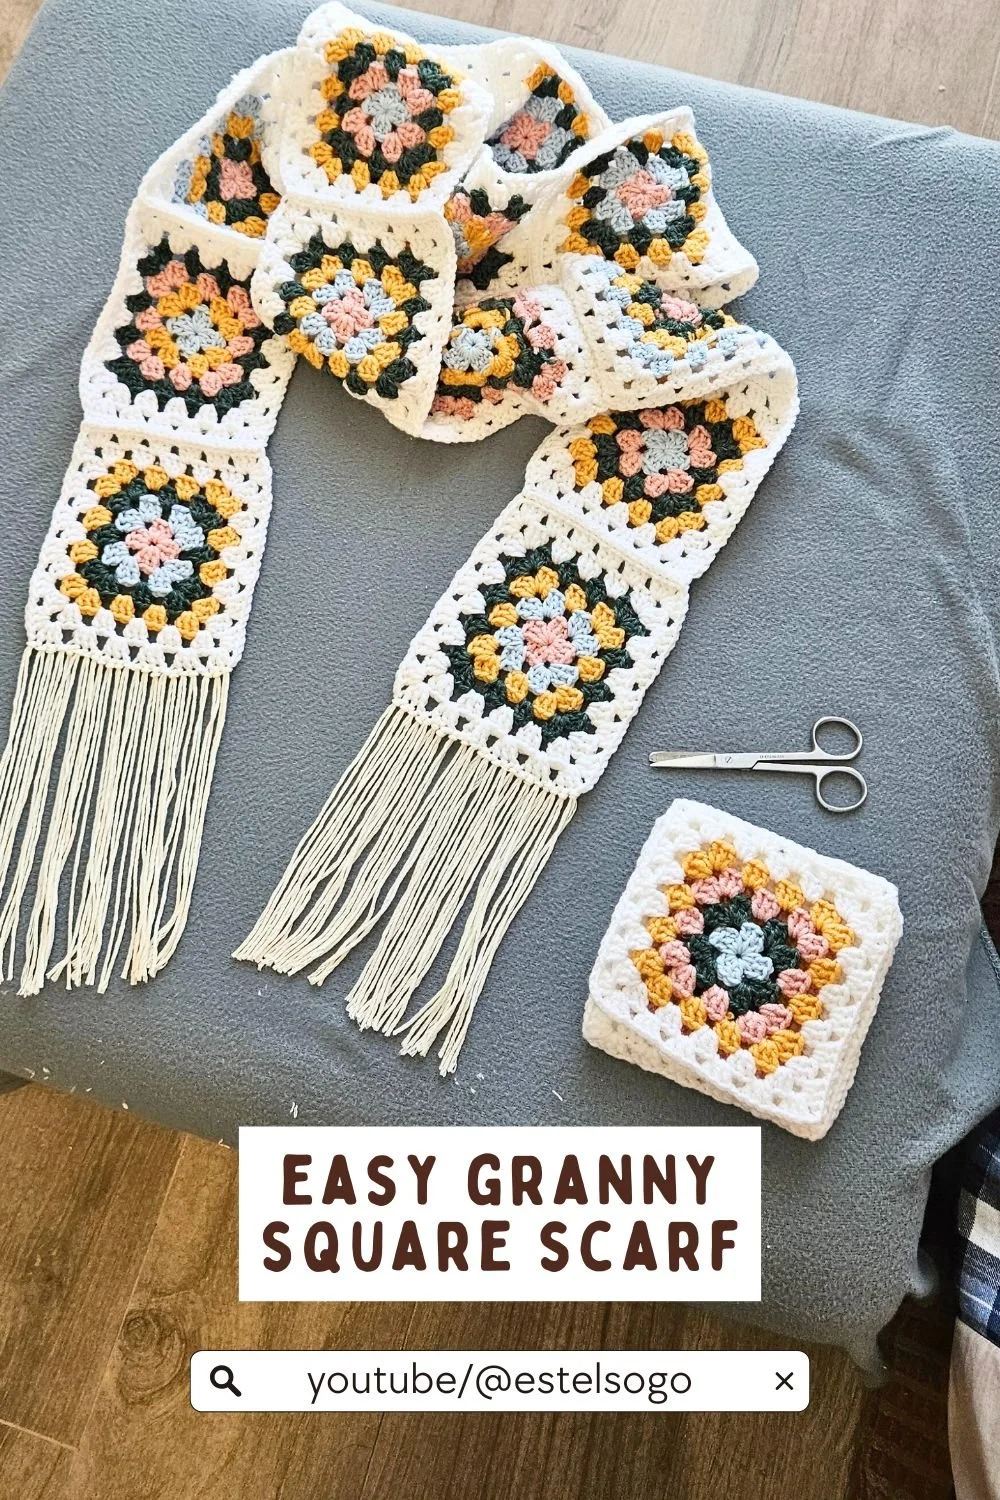
Easy Granny Squares Scarf
Materials:
Medium-weight yarn in 3 or more colors
Crochet hook suitable for the yarn (usually 4.5–5 mm)
Wool needle
Scissors
Final dimensions: Approximately 20 cm wide x 150 cm long, depending on tension and yarn used.
Basic Granny Square
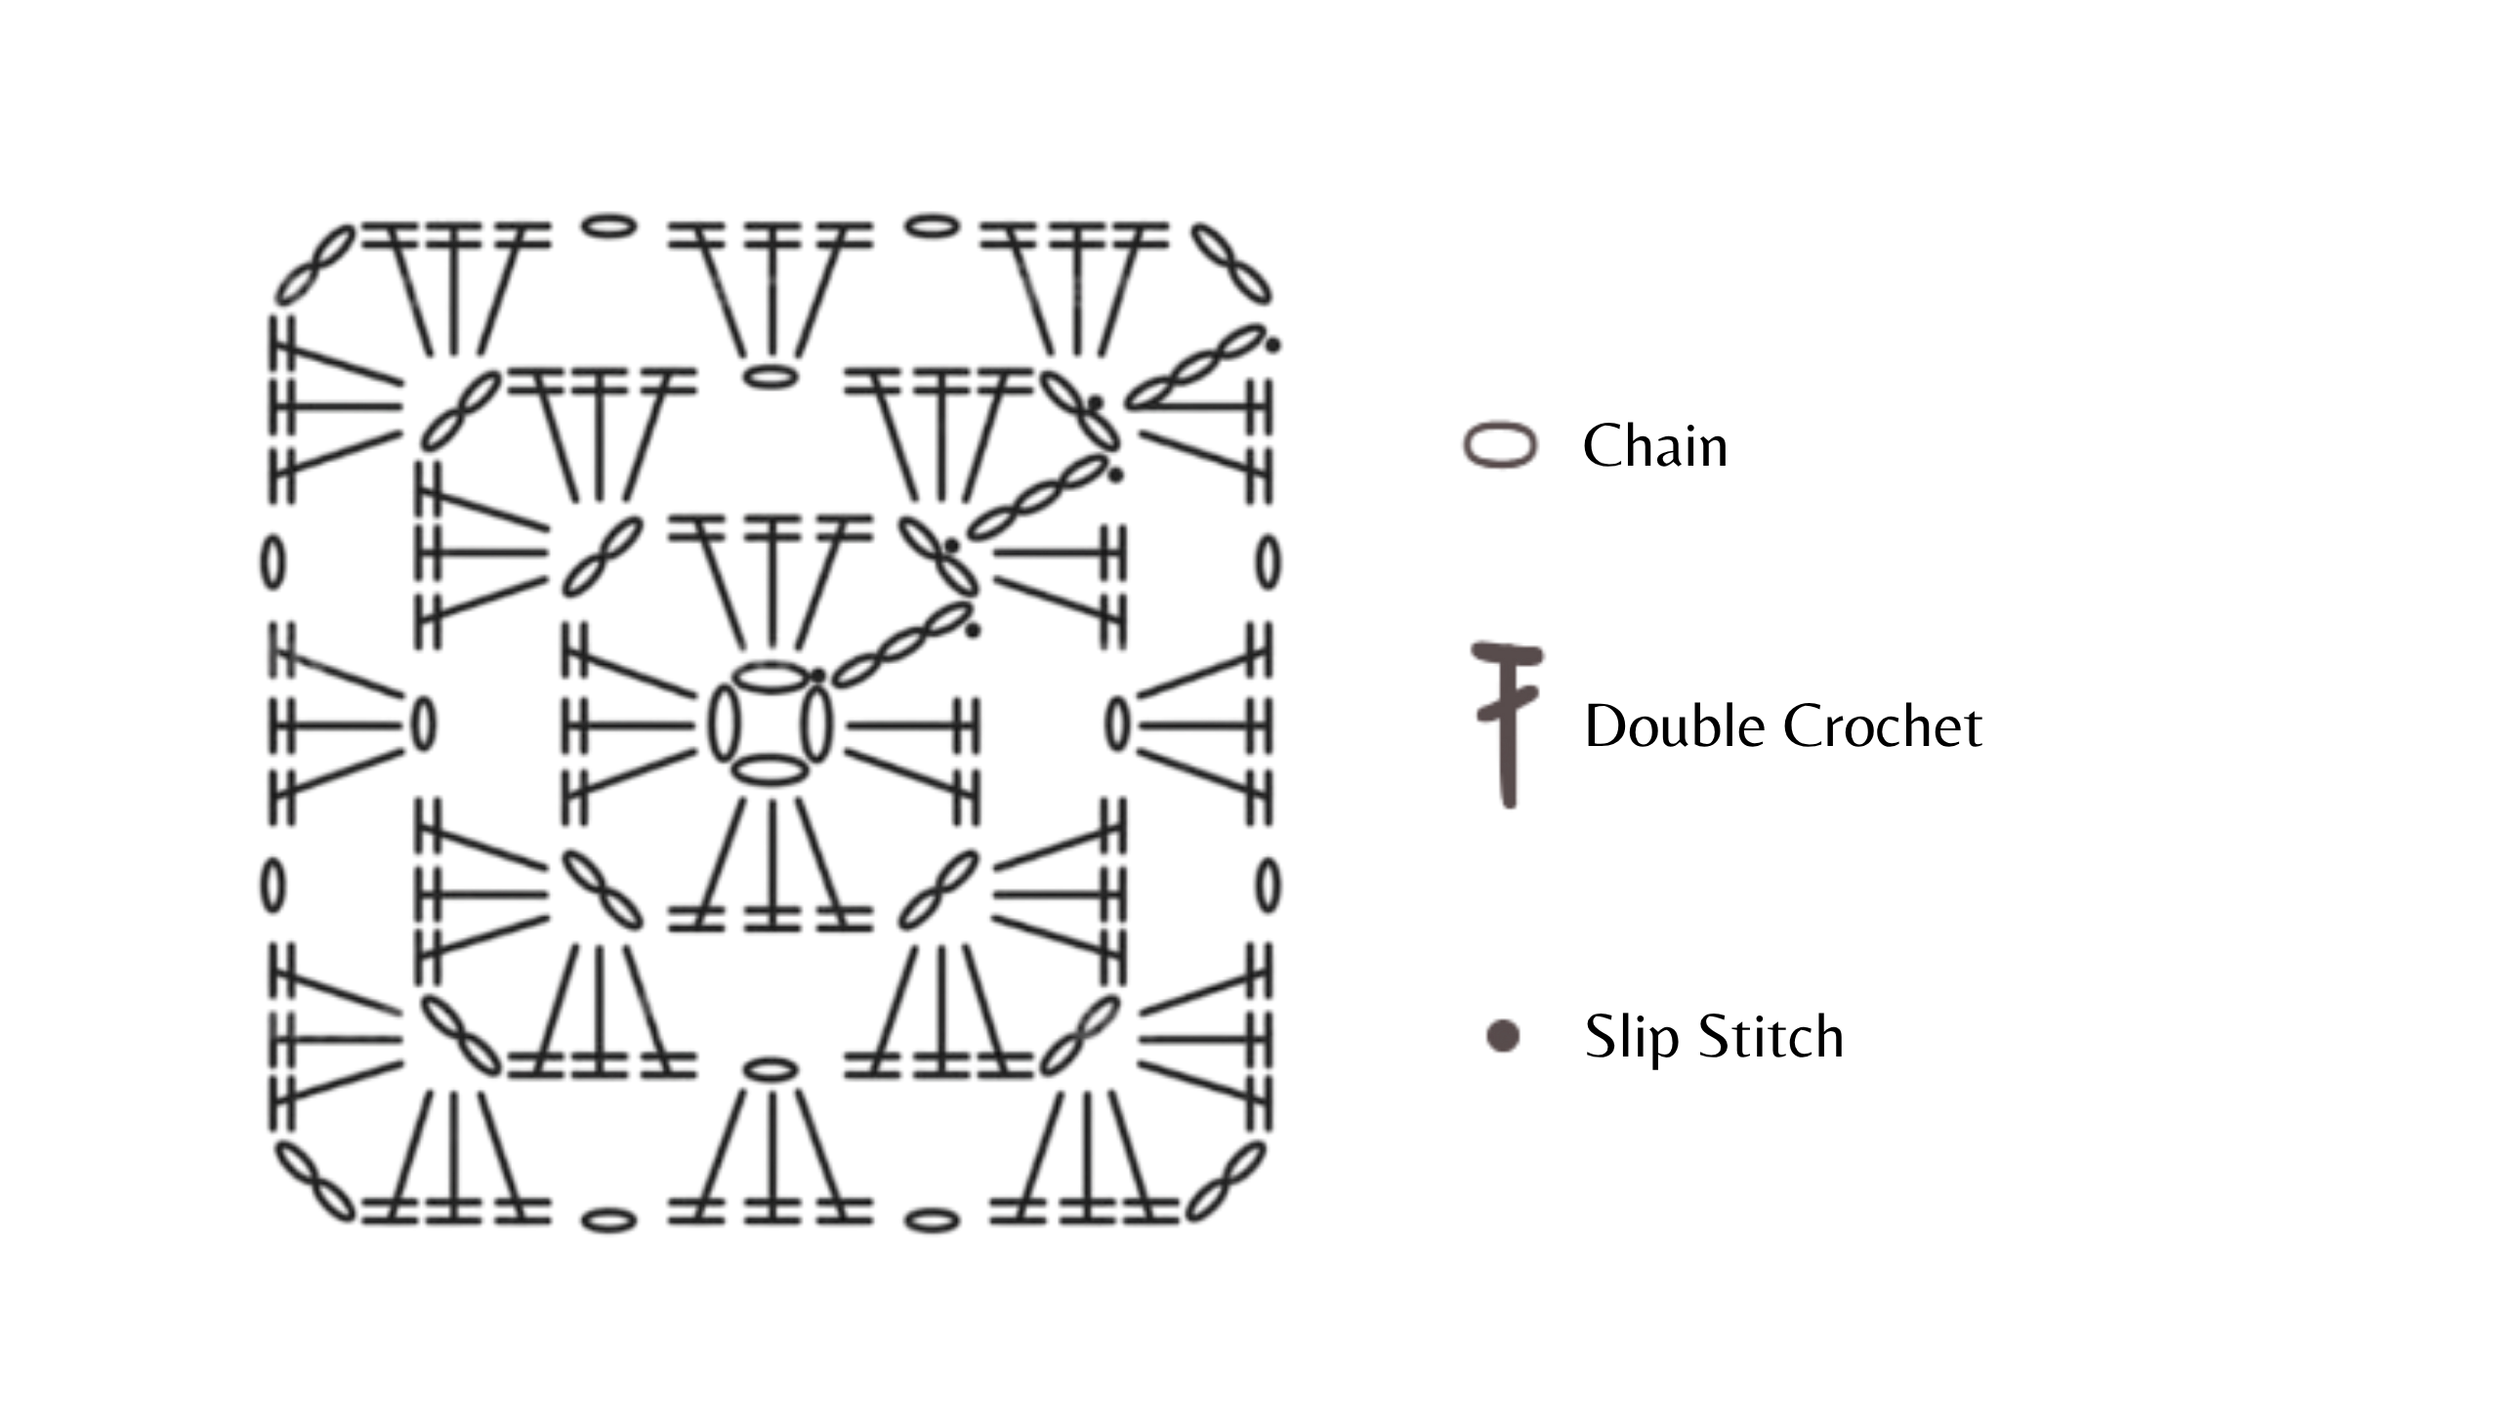
We will start by making a granny square.
Round 1
Make a magic ring.Inside the magic ring, start with:
3 chains (counts as the first double crochet) + 2 double crochets
2 chain stitches
Repeat (3 double crochets + 2 chain stitches) three more times, until you have 4 groups of stitches.
Close the round with a slip stitch in the third starting chain.
Pull the yarn of the magic ring to close it well.
Round 2
Change color and continue as follows, making the stitches in the “holes” made by the chain stitches of the previous round.
3 chains
2 double crochets
1 chain in the air
3 double crochets (all in the same space)
In each corner:
3 double crochets + 2 chain stitches + 3 double crochets
Between corners:
3 double crochets + 1 chain stitch
Close with a slip stitch.
Round 3
Repeat the structure of the previous round:
3 double crochets in each side space
(3 double crochets + 2 chain stitches + 3 double crochets) in each corner
Close with a slip stitch and cut the thread. Hide the threads.
Repeat this process until you have 10-16 granny squares. They can be identical or change colors between rounds.
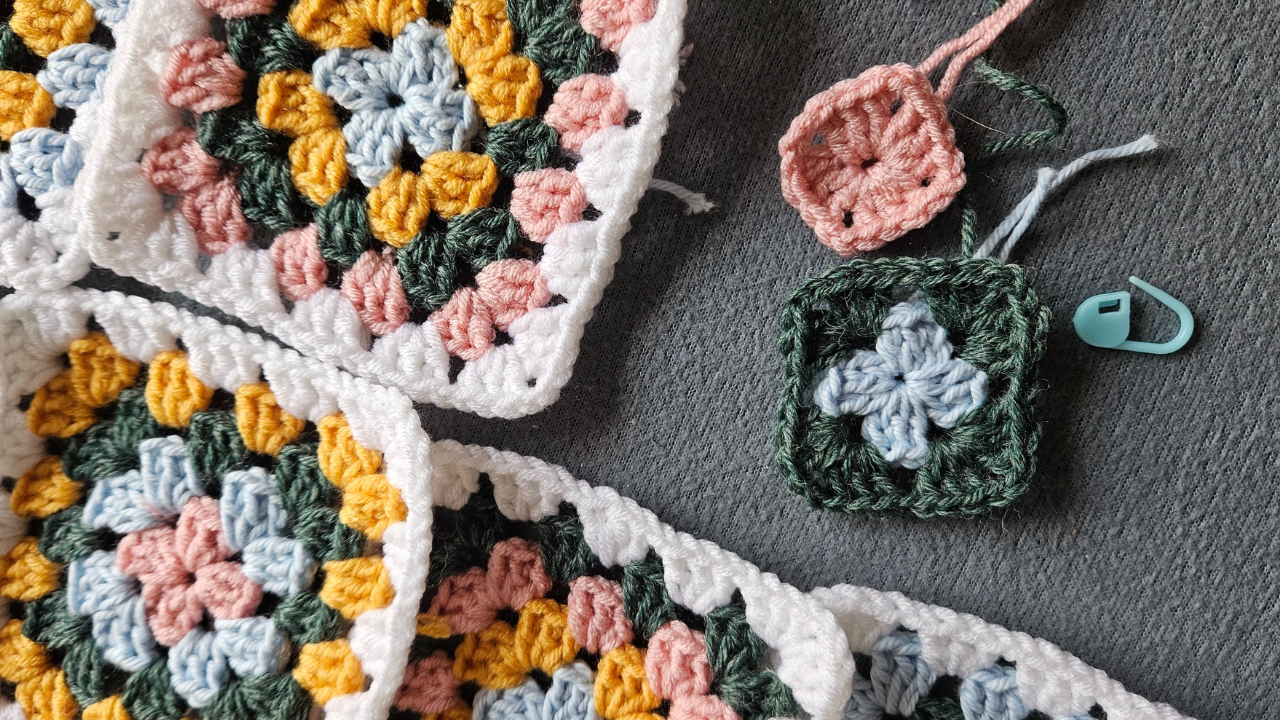
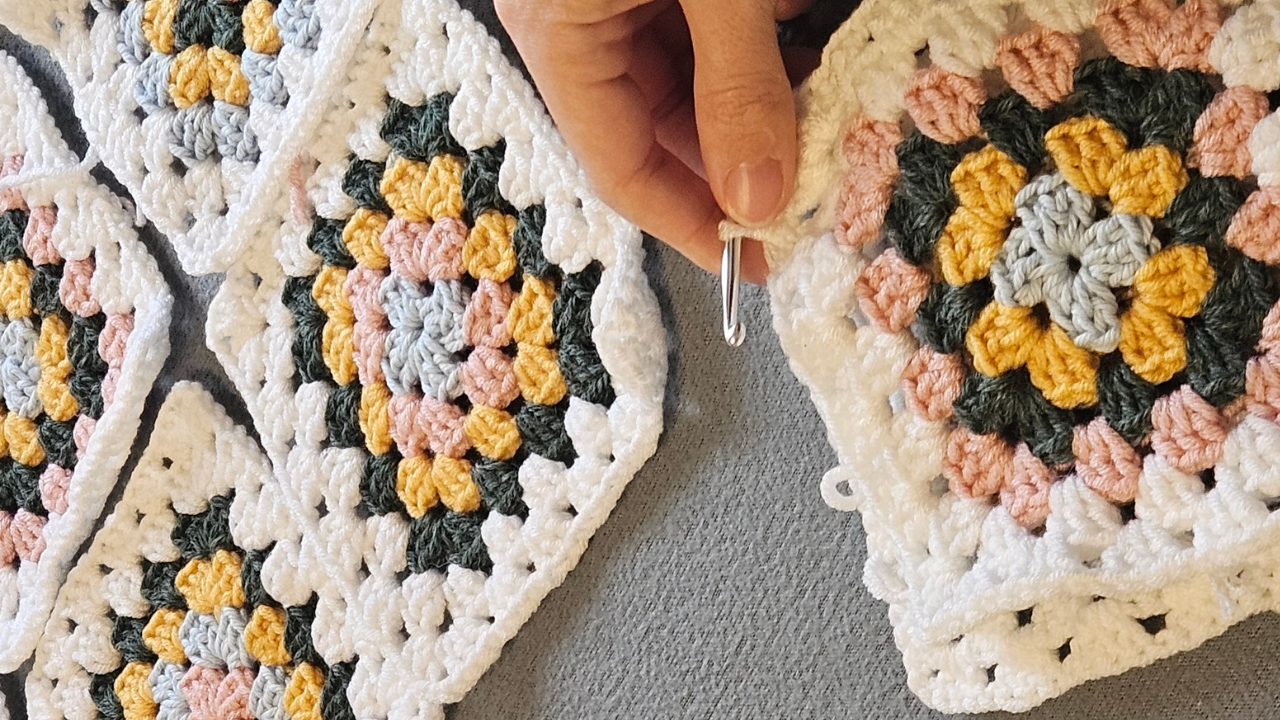
Joining the granny squares
We will join the squares with a single crochet, to create a visible and consistent joint.
Place two squares face to face or wrong side to wrong side (depending on whether you want the seam to be smooth or visible), aligning the edges.
Insert the hook through the back loop of the first square and the back loop of the second.
Make a single crochet and continue like this until the end of the edge.
Repeat the process until you have joined all 10 squares in a single strip.
When you finish each joint, cut the thread and hide it, or continue with the next square if you prefer to work continuously.
Finishing (optional)
To give the scarf a neater finish, you can make a round of double crochet around the entire piece:
Make 1 double crochet in each stitch
In the corners, make 2 double crochets in the same stitch
Slip the ends together, cut the thread and hide it. This scarf can easily be lengthened by adding more granny squares. You can also play with different colors in each square or keep a single color for a more minimalist effect.
When you have finished it, you can add fringes to both ends of the scarf. With the help of the crochet hook, we insert a 20 cm thread folded in half, pass it a little forward and make a “hanging” knot.
Still have some doubts? Watch me make this scarf in this video:
Enjoyed this video? You might love this one too: 👉 Wardrobe Declutter & Upcycling Old Clothes (Easy Sewing Projects) https://youtu.be/PVR7Iy0TPIY
🍄 Subscribe to my YouTube Channel if you wish: https://www.youtube.com/channel/UCs9ZnMiOs2wVE9i_hUNV21g?sub_confirmation=1
🍄 Become a channel member to get early access videos & special content https://www.youtube.com/channel/UCs9ZnMiOs2wVE9i_hUNV21g/join
🍄 Follow me on Pinterest for more inspiration and weekly ideas https://www.pinterest.es/estelsogo/
Thank you for your support!
Pin this idea:
Enjoyed this video? You might love this one too: 👉 Wardrobe Declutter & Upcycling Old Clothes (Easy Sewing Projects) https://youtu.be/PVR7Iy0TPIY
🍄 Subscribe if you wish: https://www.youtube.com/channel/UCs9ZnMiOs2wVE9i_hUNV21g?sub_confirmation=1
🍄 Become a channel member to get early access videos & special content https://www.youtube.com/channel/UCs9ZnMiOs2wVE9i_hUNV21g/join
🍄 Follow me on Pinterest for more inspiration and weekly ideas https://www.pinterest.es/estelsogo/
Thank you for your support! <3